

Restricting API Gateway Traffic To CloudFront
Restrict AWS API Gateway traffic to only accept requests from a CloudFront distribution


Previously...
In our last few blogs, we've been setting up a way to dynamically resize images using AWS. In the most recent blog, I mentioned securing your API Gateway to only accept requests from CloudFront. In this blog, I'm going to be showing off two ways to do this.
Why
We do not want users making unnecessary requests to our API when we already have the content available in our CDN as we will incur extra costs by doing so. In addition, if we add a layer of security to our CloudFront distribution using AWS WAF (which may be discussed in later blogs), if the user has direct access to our API then they can bypass these protections.
How
We're going to be using API Gateway's built-in API key access to prevent direct unrestricted access. Our CloudFront distribution will be the only service aware of this API key and will use it to fetch the user's data on their behalf. It will do so by forwarding custom headers containing the API key to the API on every request, which the end-user is unaware of.
Implementation
Configuring API Gateway
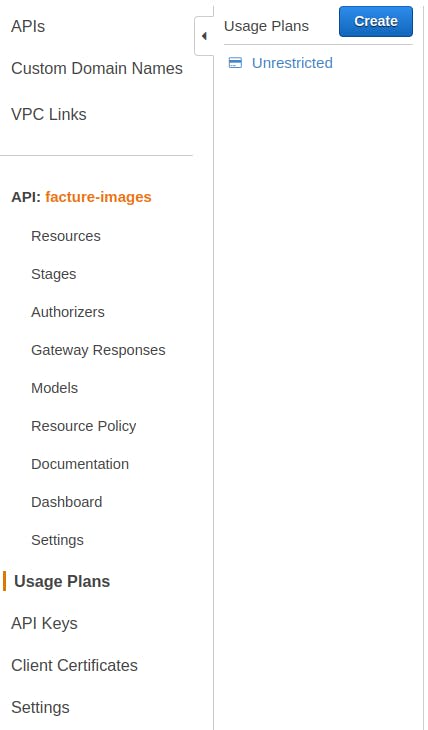
To get started, head to your AWS console and navigate to your API Gateway dashboard. Select the API you created in the previous blog, then head to Usage plans and press Create.
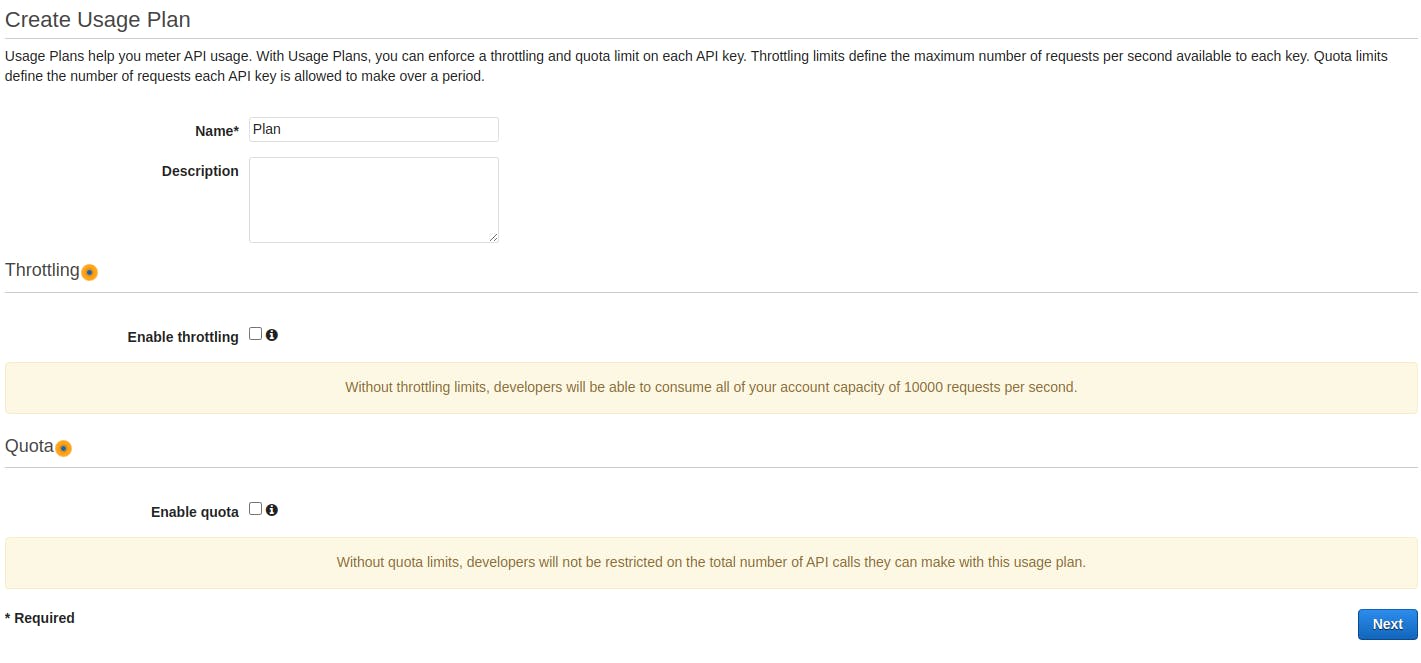
Give your plan a name and uncheck Enable throttling and Enable quote. We are using our API keys to restrict unauthenticated access from outside of our CloudFront distribution, but we don't want to limit our CDN's ability to access our API. Press Next.
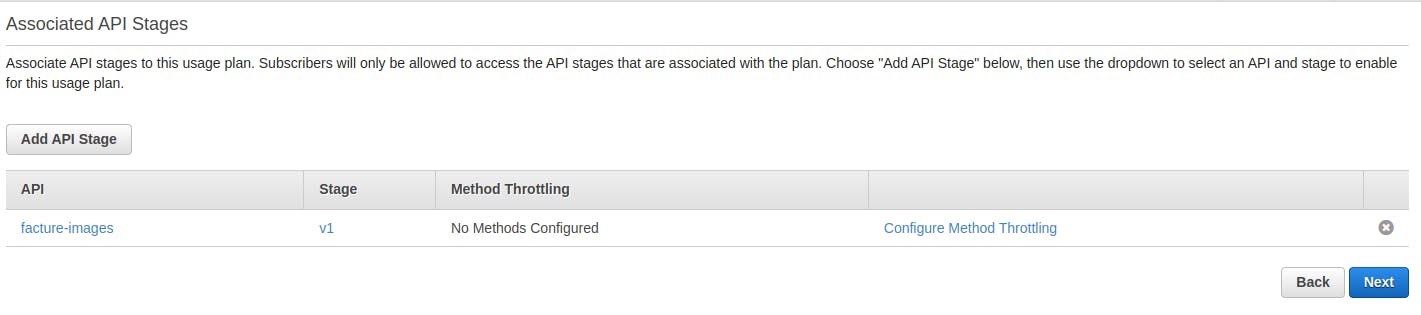
Next, associate your API stage with the plan. Do this by pressing Add API Stage, and add the stage that your CloudFront distribution uses. Press the check and then press Next.
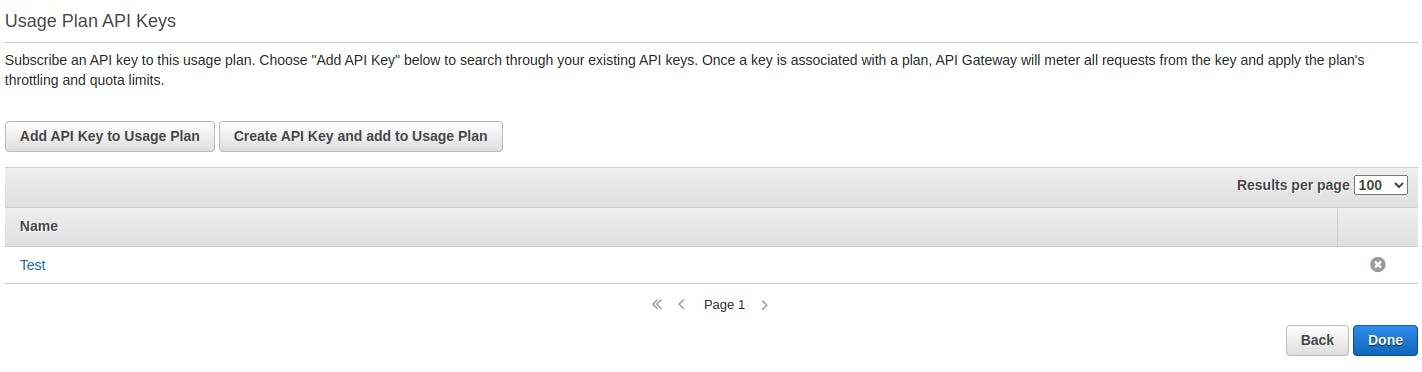
Next, create the API key that your distribution will use. Do this by pressing Create API Key and add to Usage Plan, give the API key a name and keep the Auto generate option selected, then press Save, then when you're ready press Done.
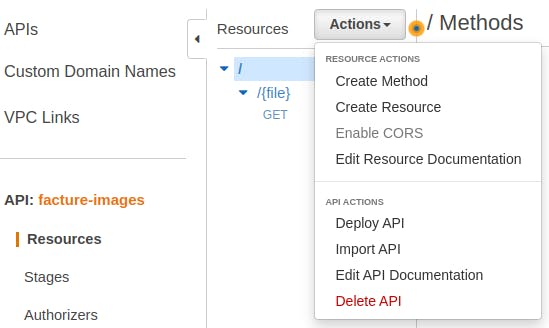
Finally, you will need to redeploy your API for it to reflect your changes. Do this by navigating to Resources, pressing Actions, Deploy API, then choosing your selected Deployment stage and pressing Deploy.
Configuring CloudFront
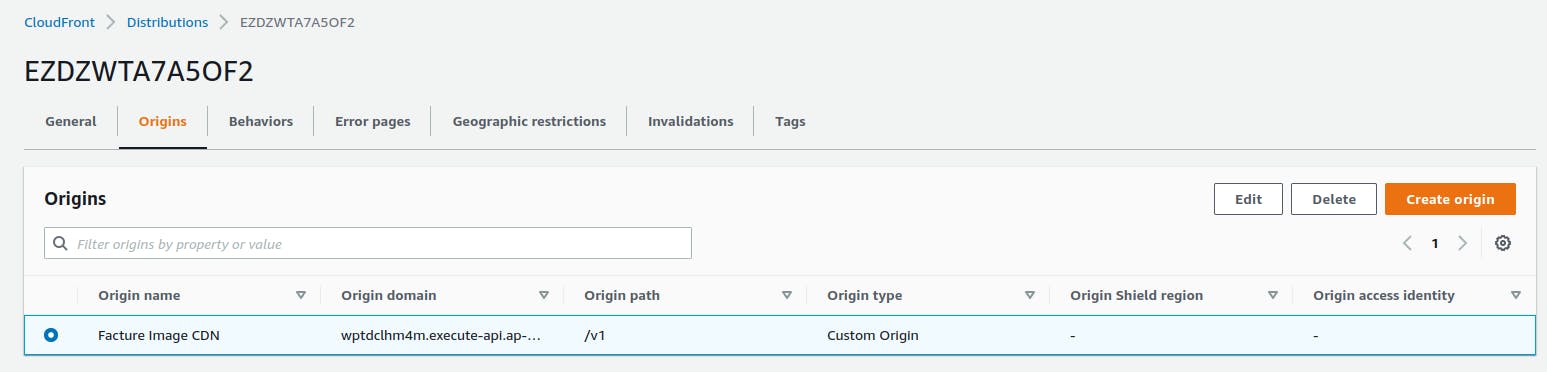
Navigate to the dashboard for your CloudFront distribution, then go to the Origins tab. Select your origin and press Edit.
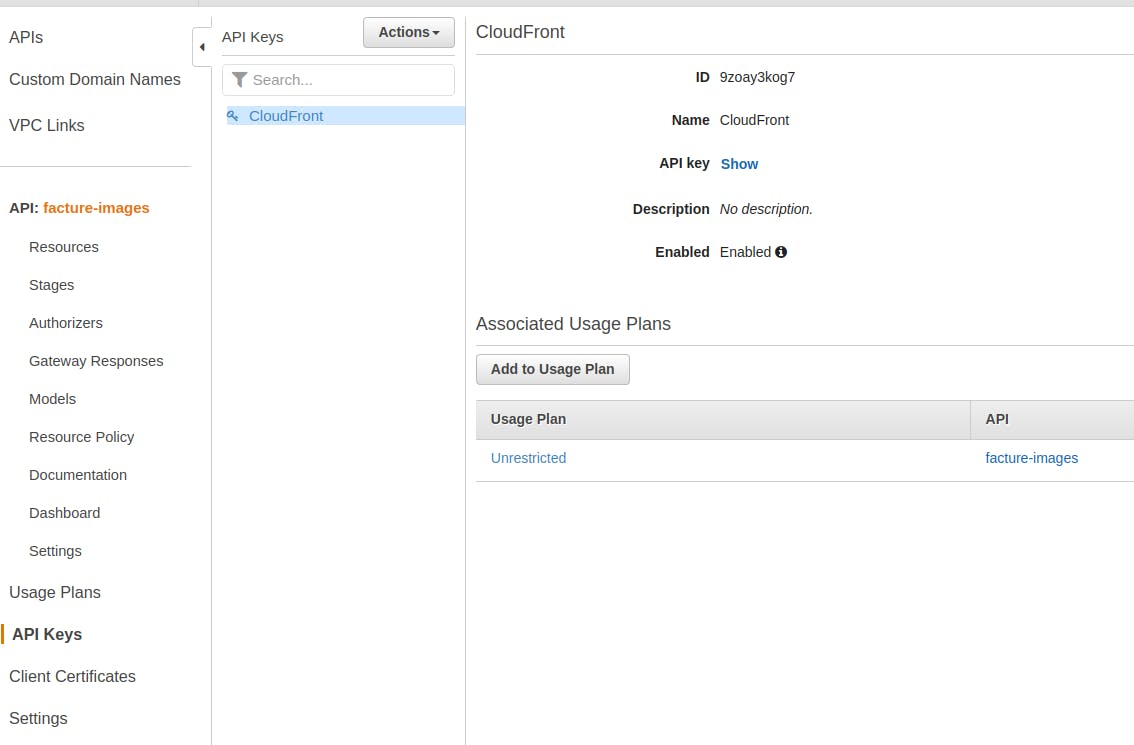
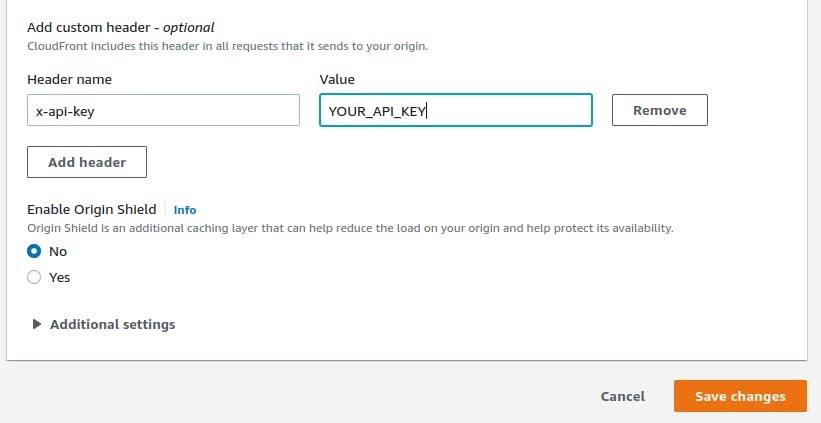
Under the Add custom header section, press Add header, make the Header name exactly x-api-key, and give it a value of your API key. You can find the value of your API key by navigating back to the API Keys section on your API Gateway dashboard, selecting the API key you generated, and pressing Show. Once you have added your API key to the header, press Save changes, and then wait for your CloudFront distribution to update, which could take a couple of minutes.
Testing it works
Now if you did everything right, when you make a request to your CloudFront distribution for an image with a given size, it should serve your image as it did before. However, if you make a request to your API without the header, you should receive a 403 Forbidden message.
In conclusion
So now you have secured your API so that it is only accessible through CloudFront, ensuring that your users can only access your static content through the CDN, saving you from unnecessary API calls.
In addition, if you're looking to set your CloudFront distribution up with AWS WAF for security purposes or a custom domain name, here are some resources to get you started.