
Sending Transactional Emails With SendGrid And NodeJS
Learn how to send transactional emails programmatically using SendGrid and NodeJS.


Introduction
Emails to this day are still one of if not the most effective way of keeping in touch with your user base, so regardless of what industry you are involved in, chances are you are going to need to know how to send emails programmatically at some point in your career.
Some use cases for programmatic email sending include:
- Password resets
- Confirmation emails
- Newsletters and mailing lists
- Promotional emails
Luckily for you, it's easier than ever to send emails programmatically. SendGrid is an email marketing service that makes it super easy for you to send emails from your programming language of choice with their powerful APIs. In this article, we're going to be learning how to send emails using SendGrid with NodeJS.
Getting started
Setting up SendGrid
Registering
To get started, first, you'll need to make a SendGrid account which you can do so for free here, no credit card required. SendGrid offers a very generous always free tier that allows you to send up to 100 emails per day, which should be more than enough for your needs. If you need more, you can find SendGrid's pricing plans here.
Setting up and designing an email template
Once you've got a plan, the first thing you'll want to do is set up an email template. You can technically dynamically define the text and HTML of the email from the SDK itself, however it is far easier to do so using SendGrid's template editor.
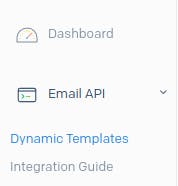
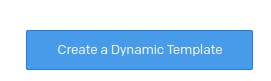
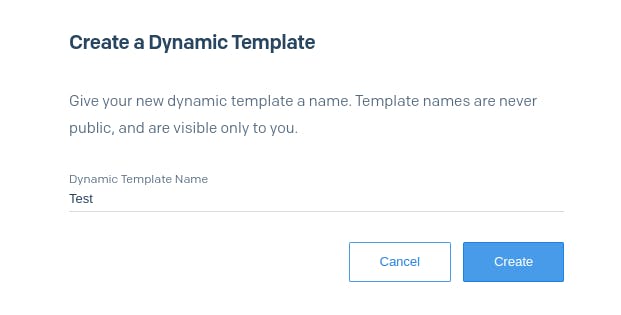
To get started, navigate to Email API from the SendGrid side nav and head to Dynamic Templates., and then select Create A Dynamic Template. Give your template a name and then press Create.
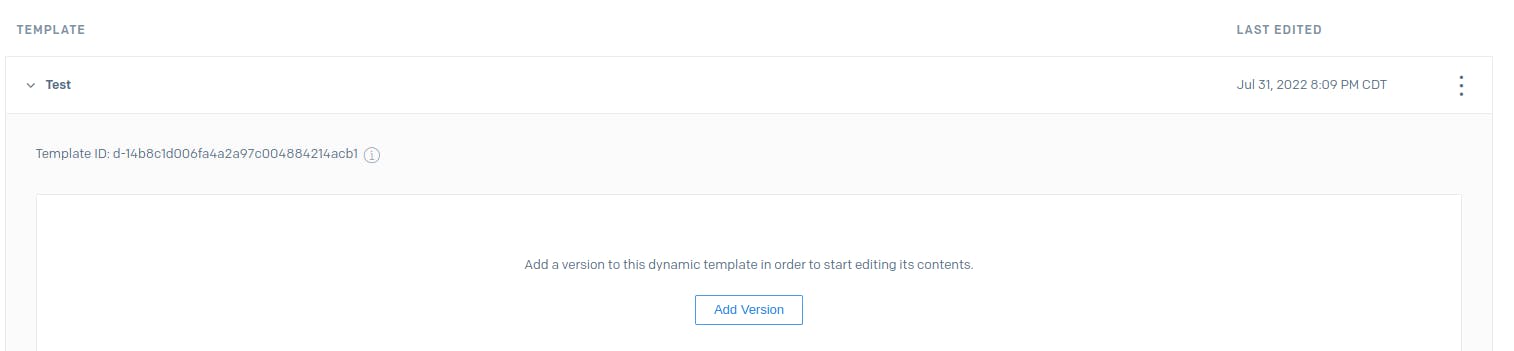
Now open up your template and press Add Version to start creating your email template design.
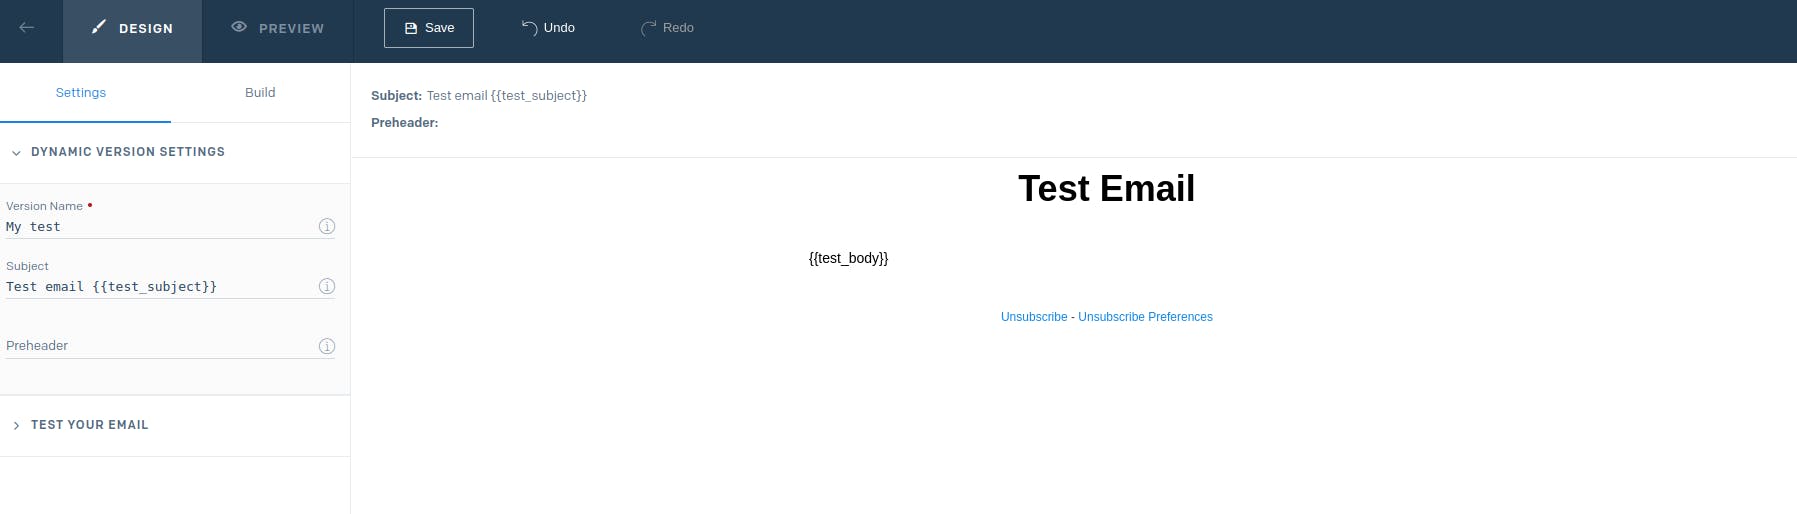
This is the fun part where you can create your own email template design. I'm going to create a new blank template and choose the design editor which will allow you to create your email using drag and drop editable blocks, but you can also upload your own custom HTML code for your email.
If you wish to define custom parameters for your email that you define at send time, for example personalizing the name of the template email you send, you can do so by defining the parameter with the syntax {{your_parameter_name}}, which will be replaced with the parameter you define when the email is sent thanks to SendGrid using Handlebars under the hood. You can also do this for the subject line.
Here's an example of an template that takes in custom parameters
Once you are finished with your email template, press Save, and then navigate back to your templates dashboard. Now under your template, you should see the email template you just created. In addition, you should see a template id. Record this down as we will use it later to send the email.

Getting an API key
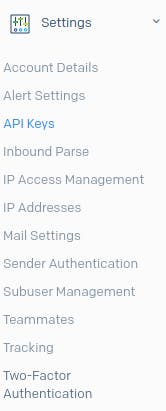
In order to send emails through the SDK, you're going to need to create an API key, which you can do by navigating to Settings, API Keys, then pressing Create API Key. Give the key a name, and give your key access to the actions you need to perform. Once you've given the appropriate permissions, press Create & View, and then copy your API key down somewhere safe for use. Make sure not to expose this key to ANYONE and to keep it out of public Git repositories.
Setting up a sender identity
In order to send your email through SendGrid, you're first going to need a sender, which is going to be the address that delivers your emails. You can do this with either a domain or just by creating a single sender, which doesn't require a domain, which we're going to be using for this example.
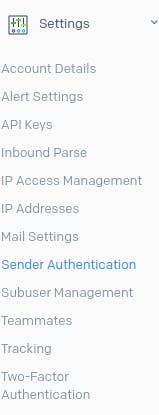
To set up a single sender, first navigate to Settings, Sender Authentication from the side nav. Next press Create New Sender. Fill in your details, where the From Email Address will be an email account you have access to that you wish your emails to be sent as, and then a Reply To email which is where replies to your sent email will be received. Finally, press Create.
Once you've created your sender, you will have to verify your email address using the email sent to the inbox that you used as your From Email Address. Once you've verified your email, you're ready to start sending emails!
Sending emails through NodeJS
Installing dependencies
Now we're going to write the implementation code. Init a new NPM project and run npm install @sendgrid/mail dotenv, then open your new project in the editor of your choice.
Sending an email
Create a new .env file and add your SendGrid API key to it as
SENDGRID_KEY=YOUR_API_KEY
Now create a new file named index.js and add the following code
const sendgrid = require("@sendgrid/mail");
require("dotenv").config();
sendgrid.setApiKey(process.env.SENDGRID_KEY);
const sendgridTemplateId = "YOUR_TEMPLATE_ID";
const fromEmail = "YOUR_FROM_EMAIL";
async function main() {
const recipient = "test@gmail.com";
await sendgrid.send({
to: recipient, // The address who will receive the email
from: fromEmail, // The from address of the sender you defined earlier
templateId: sendgridTemplateId, // The template id
dynamic_template_data: {
// Placeholders defined in your email template
test_subject: "My subject From NodeJS",
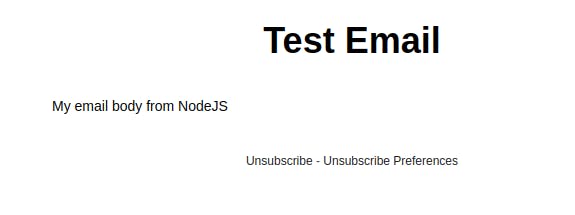
test_body: "My email body from NodeJS",
},
});
}
main();
replacing YOUR_TEMPLATE_ID, YOUR_FROM_EMAIL, test@gmail.com, and dynamic_template_data with your respective template id, sender from email, recipient address, and email template dynamic data.
Now if you run
node index.js
and check your recipient email, you should receive your email template filled out with the dynamic parameters you specified. Success!

Conclusion
So now you know how to send custom transactional emails with your own dynamic templates using SendGrid and NodeJS. Use this knowledge to build something cool, and when you do, share it with me in the comments section below. In addition, join my mailing list below to stay notified on future tutorials I make. Thanks for reading!