

Photo by Nick Morrison on Unsplash
Setting up a Strapi CMS with Docker and Amazon RDS
Learn how to set up a Strapi content management system with your database hosted on Amazon RDS and Dockerize it.


Introduction
Recently for one of my newest projects Facture, I needed a CMS (content management system) to store all of my content, and what better choice than Strapi. Unlike some other content management systems, Strapi provides you with full control and ownership of your data, a diverse set of plugins, and a fantastic set of documentation for us developers.
Today, I'm going to be showing you how to set up your own Strapi instance and containerize it using Docker so you can deploy it to whatever cloud platform you wish. We're going to be using Amazon RDS to host our database as it provides a generous free tier for the first 12 months which will be quite sufficient for our needs.
Requirements
- NodeJS + NPM
- An AWS account
- Docker
Implementation
Creating an Amazon RDS Postgres database
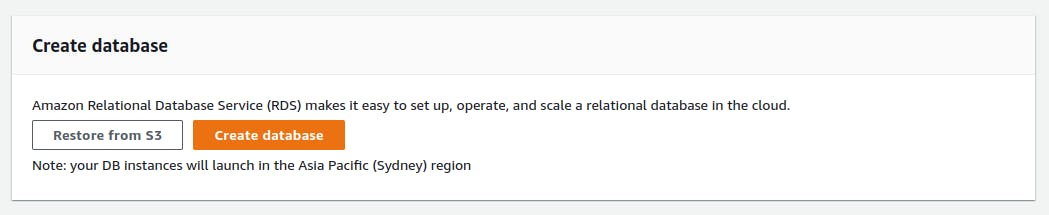
Navigate over to the RDS dashboard in your AWS console. Make sure you're in the region of your choice and press Create database.
Select Standard create, choose the PostgreSQL engine type with version PostgreSQL 10.x-R1, then select Free tier.

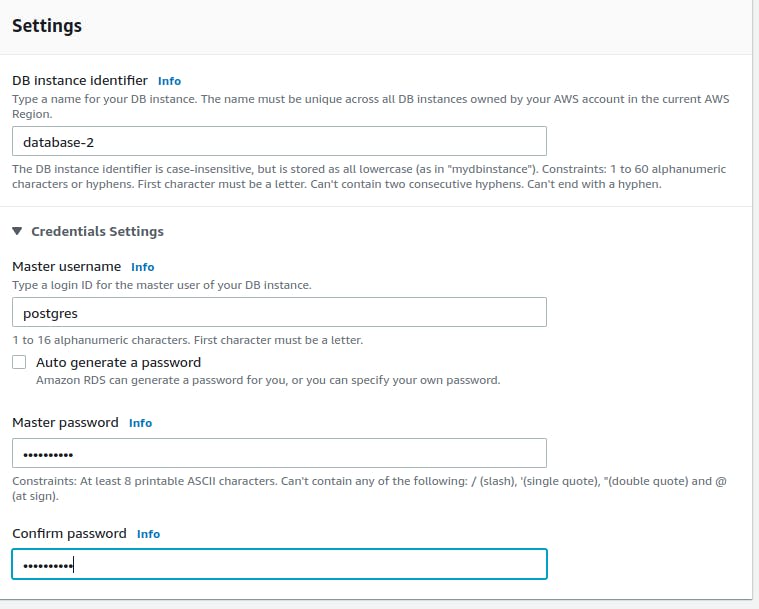
Give your database an identification name, leave the master username as the default, then uncheck Auto generate a password and enter the master password of your choice.
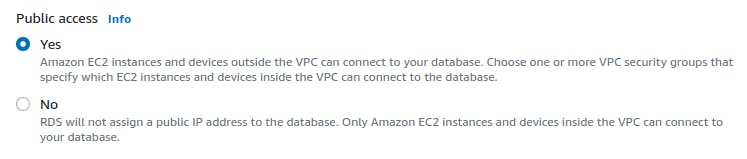
Under Connectivity, set Public access to Yes.
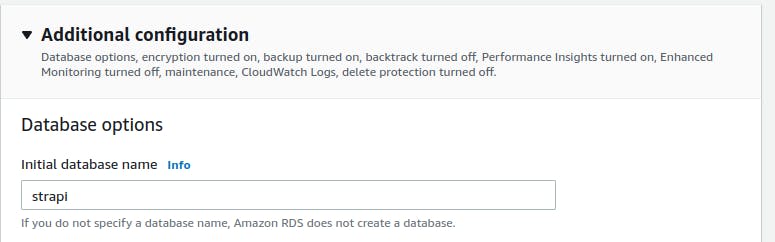
Under Additional configuration, under Database options, set the initial database name to strapi.
Finally, press Create database. It may take some time for your database to get set up.

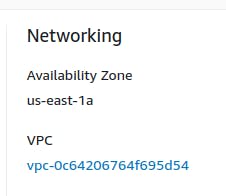
Once your database has been set up as denoted by the Available status on the dashboard, go to the dashboard for your newly created database, and under the Connectivity & security section take note of the VPC your database belongs to.
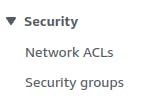
Now navigate to the VPC console on AWS, then on the side nav under Security click on Security groups.
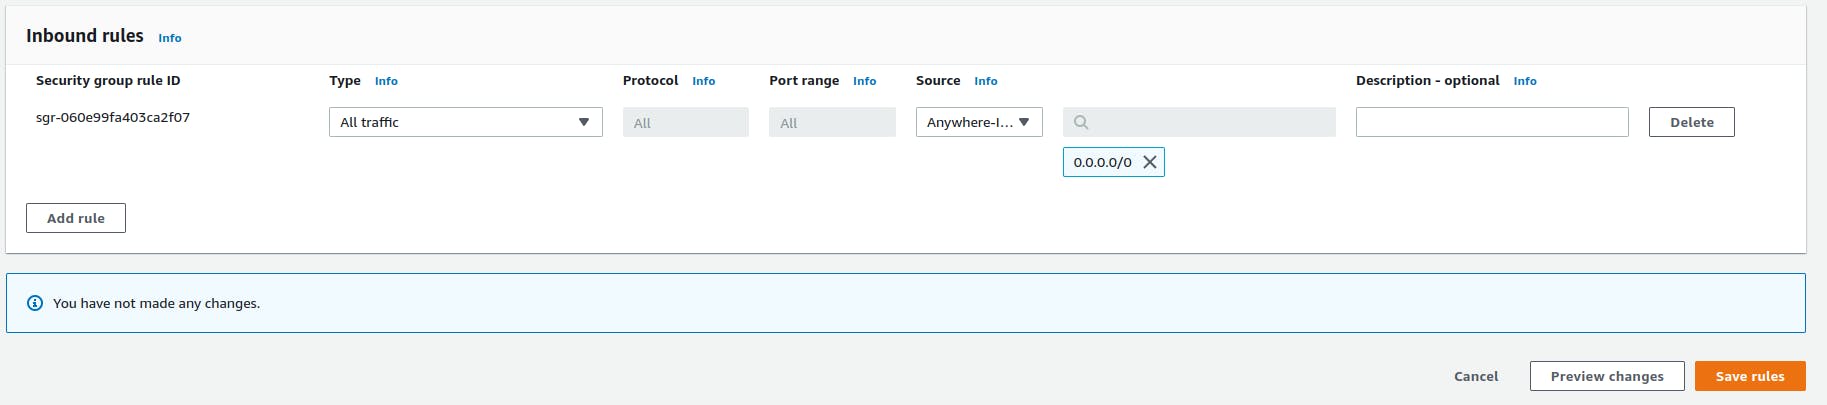
Select the security group that corresponds to the VPC your database belongs to that you noted above, then under Inbound rules press Edit inbound rules.

Make sure that you have an inbound rule with type All traffic and source Anywhere-IPv4, then press Save rules.
Setting up Strapi
Now we're going to create our Strapi instance. Run the command npx create-strapi-app@latest YOUR_STRAPI_NAME --quickstart and wait for it to setup your project. Once its finished it should start the development server. Close it for now by pressing Ctrl + C in your console.
Now navigate into the newly created YOUR_STRAPI_NAME directory and enter npm install pg which will allow us to use PostgreSQL with our Strapi instance. In ./config/database.js, replace the existing code with the following:
module.exports = ({ env }) => ({
  connection: {
    client: "postgres",
    connection: {
      host: env("DATABASE_HOST", "127.0.0.1"),
      port: env.int("DATABASE_PORT", 5432),
      database: env("DATABASE_NAME", "strapi"),
      user: env("DATABASE_USERNAME", ""),
      password: env("DATABASE_PASSWORD", ""),
    },
    useNullAsDefault: true,
  },
});
Now in the ./.env file, add the corresponding environment variables for your database as defined above.
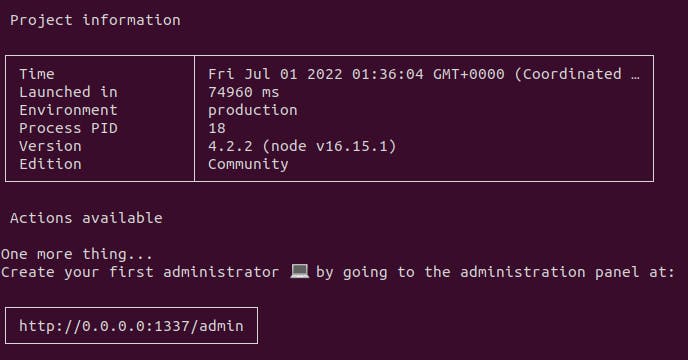
Now start the development server by running npm run develop. If you set everything up correctly you should see a similar display in your console.
Dockerizing the Strapi instance
Now we're going to dockerize our Strapi instance into a container which we can run anywhere.
Start off by creating a new Dockerfile file in the root of your project directory with the following code:
FROM node:16.15.1-alpine3.16

ENV NODE_ENV=production

WORKDIR /usr/local/app

COPY config config/
COPY database database/
COPY public public/
COPY src src/
COPY package*.json ./

RUN npm ci

RUN npm run build

CMD npm run start
Now to build your image, in the root of your project directory run docker build -t YOUR_STRAPI_BUILD_NAME .. Once your build has finished, you then run it using docker run --env-file .env -p 1337:1337 YOUR_STRAPI_BUILD_NAME. If you've done everything right, you should be greeted with the same console message from before.
Wrapping up
So now you know how to create a Strapi instance, storage your data on Amazon RDS, and dockerize your application into a container which can be run anywhere.
Stay tuned for future installments where we're going to be adding image uploading, deployment to GCP, and even integration with Algolia search!